End User Guide: Matter Workflow
This chapter explains the client matter lifecycle inside LawyerPara.
#Status overview
Pending  →  Open  →  Active  →  Closed
             ↓
         Cancelled
| Status |
Meaning |
| Pending |
Often used for online bookings waiting for payment; may expire |
| Open |
Accepted and ready to begin |
| Active |
Work on the matter is under way |
| Closed |
The matter is finished |
| Cancelled |
The matter was stopped before completion |
| No show |
The client did not attend the booked consultation |
#Step 1: Matter created
#From Firm Admin
- Go to Matters → Create (or Dashboard → New Matter).
- Choose or create a client.
- Select the practice area, start date and target close date.
- Save.
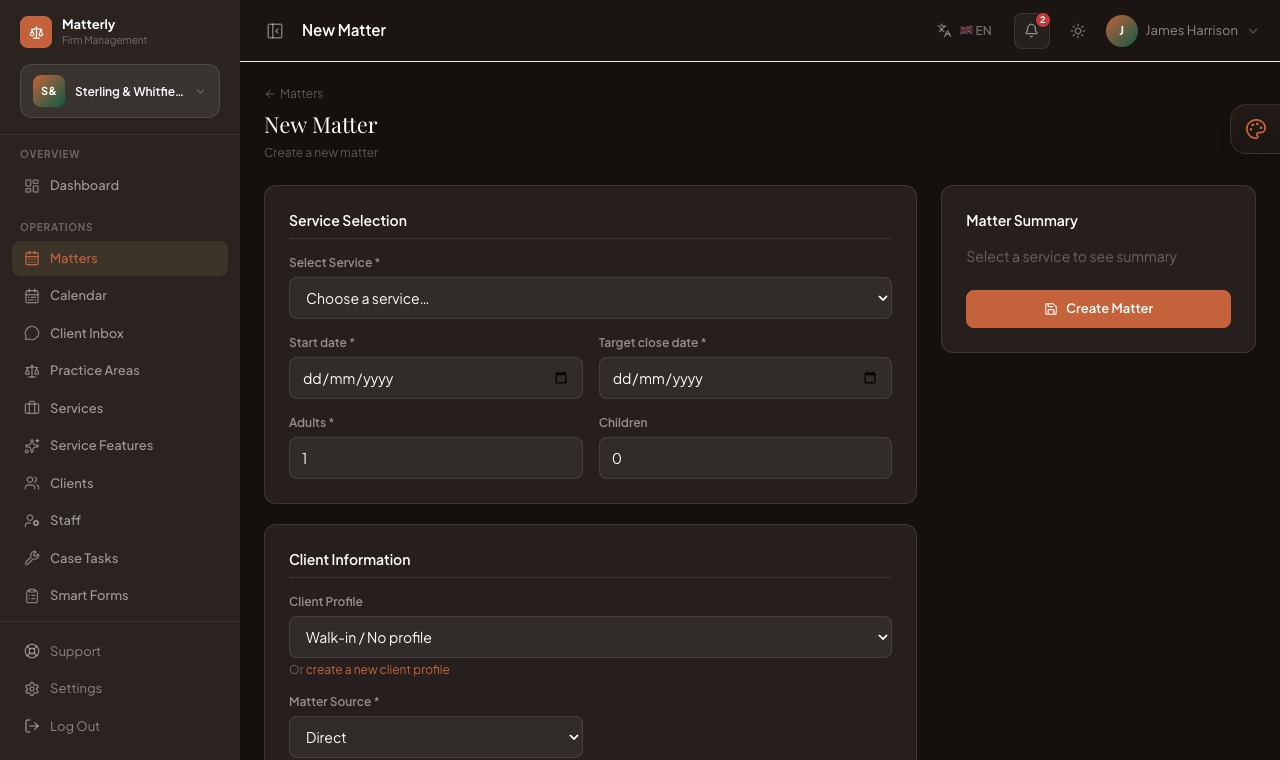
The New Matter form: pick a practice area and dates on the left, watch the running Matter Summary on the right.
What LawyerPara does:
- Creates the matter (typically Open when created by staff)
- Generates a client invoice automatically in many cases
- Sends a Matter Confirmation email if the client has an email and SMTP works
#From the public website
- Client opens the firm site and picks a practice area and date.
- Enters their details. The summary shows the price, including taxes, before they confirm.
- Pays online (if enabled) or chooses pay-at-firm.
- Sees a confirmation page with a matter reference.
Online unpaid bookings may stay Pending until payment succeeds or the hold expires.
Client self-service (public site footer):
- Manage a matter: clients look up their matter with their reference + email to view details or cancel it (cancelling sends the cancellation email automatically). Only Pending/Open matters can be cancelled online.
- Write a review: clients submit a star rating + comment. Reviews arrive as Pending under Firm Admin → Reviews for you to approve or reply to, and they feed the AI Review Insights tool.
#Step 2: Open
The matter appears in Matters with status Open.
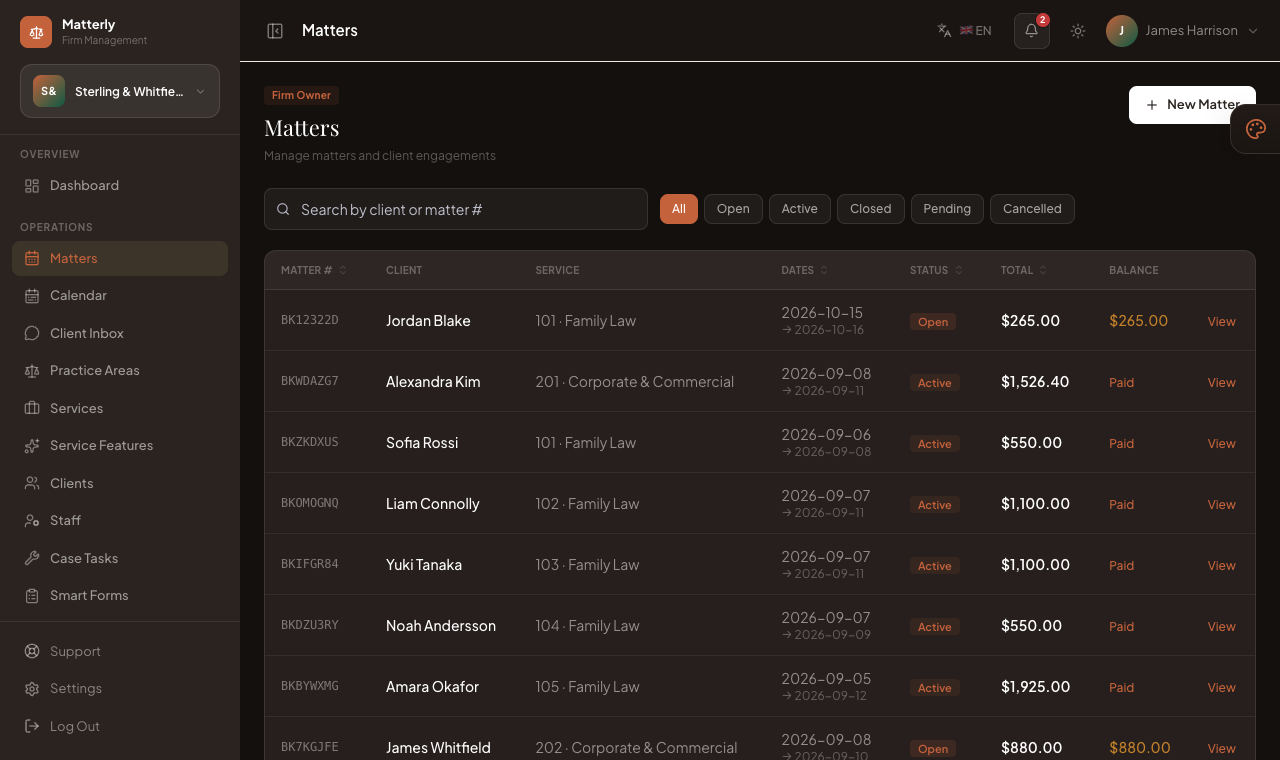
A matter's detail page. The buttons at the top right (Open matter, Cancel, Invoice) change depending on the matter's status. The Bill Summary shows what's paid and still owed.
Staff can:
- Edit dates or details (while still editable)
- Open matter when work begins
- Cancel if the client no longer wants to proceed
#Step 3: Active
- Open the matter.
- Click Open matter.
Results:
- Status → Active
- The matter appears in the dashboard’s active matters
There is no separate automatic email when a matter becomes active. Confirmation was already sent at matter time.
#Step 4: Closed
- Open the matter.
- Click Close matter.
Results:
- Status → Closed
- Client may receive a Matter Closed thank-you email (if email + SMTP are configured)
Edit is blocked after close.
#Step 5: Invoice
- An invoice is often created when the matter is created.
- Open Invoices to review charges, extras, tax, and balance.
- Send the invoice to the client when ready.
Details: Invoice Workflow.
#Step 6: Payment
On the invoice:
- Click Record Payment.
- Enter amount and method (cash, card, bank transfer, UPI, Stripe, Razorpay, PayPal, LigdiCash, other).
- Save.
Status becomes partially paid or paid.
Online gateway payments from the public matter flow mark the matter paid through payment return/webhooks when configured.
#Step 7: Email notifications (matter path)
| Event |
Email (if configured) |
| Matter created |
Matter Confirmation |
| Cancelled |
Matter Cancelled |
| Closed |
Matter Closed |
| Invoice sent |
Invoice email |
See Email Notifications.
#Cancel workflow
- Open matter → Cancel.
- Optionally enter a reason.
- Status → Cancelled.
- Client receives cancellation email when possible.
#Tips for the reception
- Always confirm the client email before creating the matter.
- Check Today’s Consultations / Hearings on the Dashboard each morning.
- After close, finish or cancel any open tasks on the Case Tasks board.
- Use Client Inbox for questions before the first appointment.
#Related pages