End User Guide: Installation
This chapter walks through the web installer at /install. Follow the screens in order. When finished, LawyerPara creates a lock file so the installer cannot run again.
#System Requirements
Before you start, make sure your server has:
| Requirement |
Notes |
| PHP 8.4+ |
With extensions: BCMath, Ctype, JSON, Mbstring, OpenSSL, PDO, PDO MySQL, Tokenizer, cURL |
| MySQL 8+ (or MariaDB 10.6+) |
Empty database recommended |
| Web server |
Document root must point to the public/ folder |
| Writable folders |
storage/ and bootstrap/cache/ must be writable by the web server |
| HTTPS (production) |
Strongly recommended for live firms |
You also need a domain or URL (for example https://matterly.example.com or http://127.0.0.1:8000 for local testing).
#Running the Installer
-
Upload the LawyerPara files to your server (or clone the project locally).
-
Point the domain to the public directory.
-
Open:
https://your-domain.com/install
-
Complete each step below. Do not close the browser until you see Installation Complete.
#Step 1: Welcome Screen
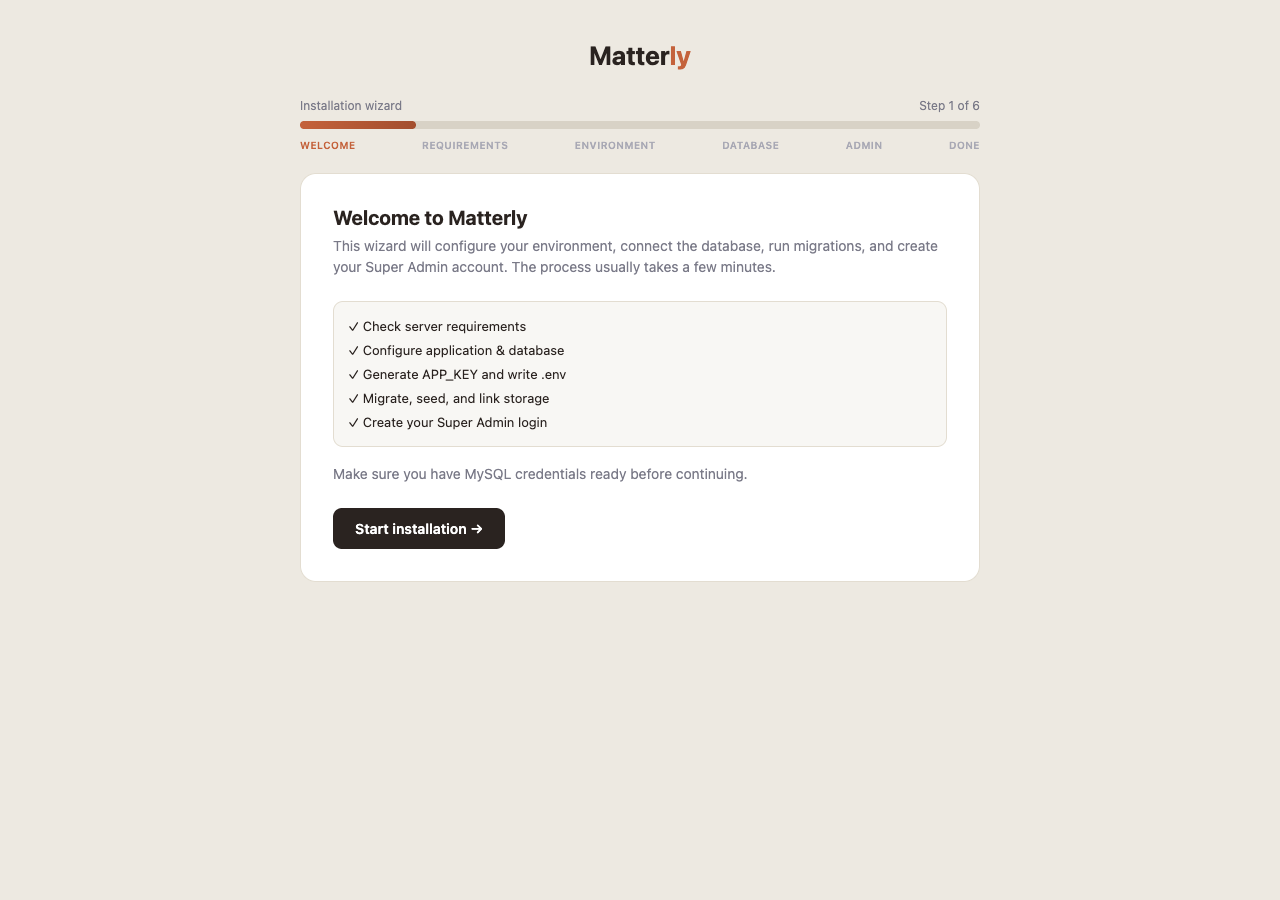
What you see: A short introduction explaining that LawyerPara will guide you through setup.
What to do: Click Start installation (or equivalent Continue button).
No form fields on this screen.
#Step 2: Requirements Check
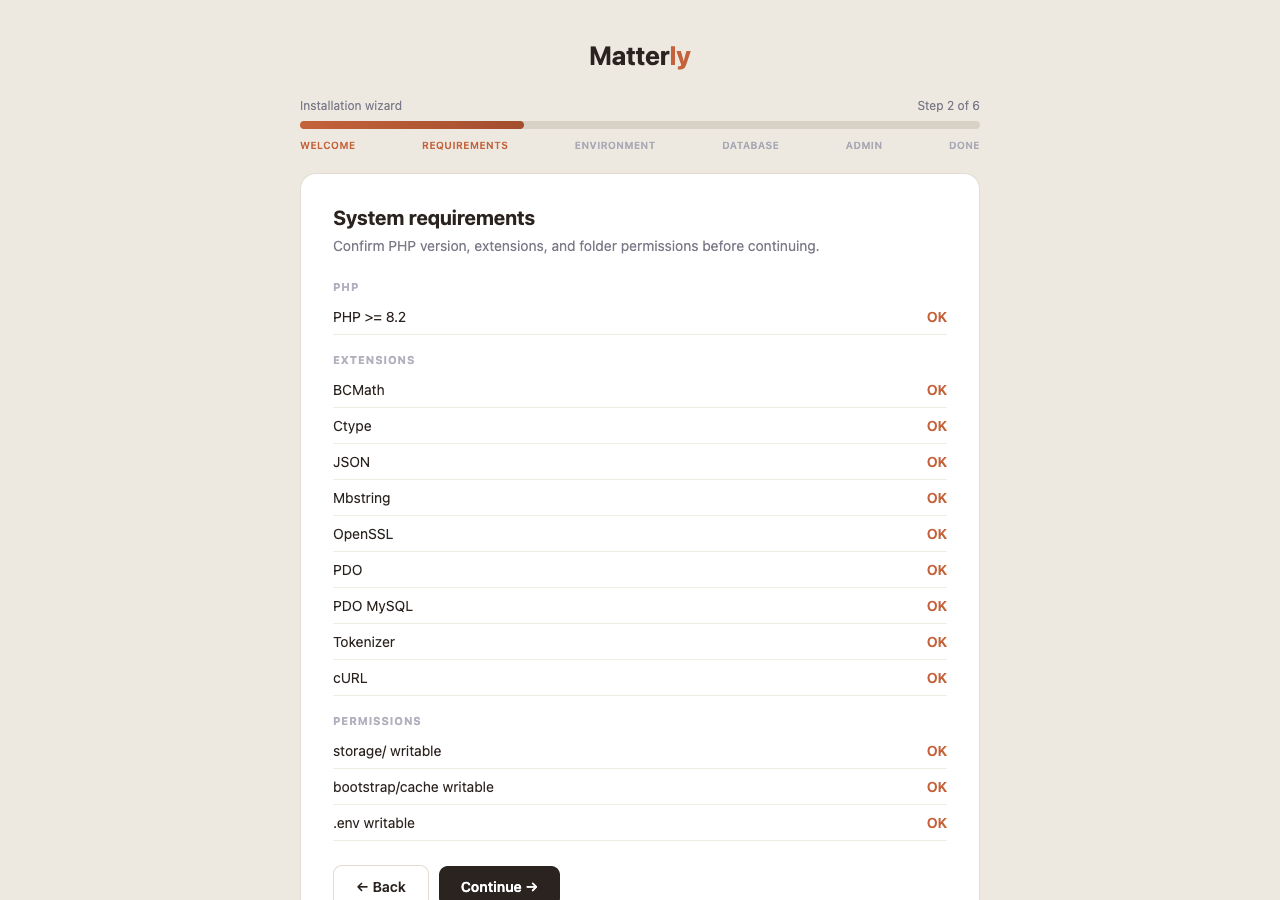
Purpose: Confirm your server can run LawyerPara.
What is checked:
- PHP version
- Required PHP extensions
- Folder permissions (
storage, bootstrap/cache, and related paths)
What to do:
| Result |
Action |
| All items pass (green) |
Click Continue |
| Something fails (red) |
Fix the issue on the server, then click Re-check |
#Folder Permissions
If permissions fail:
-
On Linux, ensure the web user owns or can write to:
chmod -R ug+rwx storage bootstrap/cache
-
Recheck in the installer until everything passes.
#Step 3: Environment Configuration
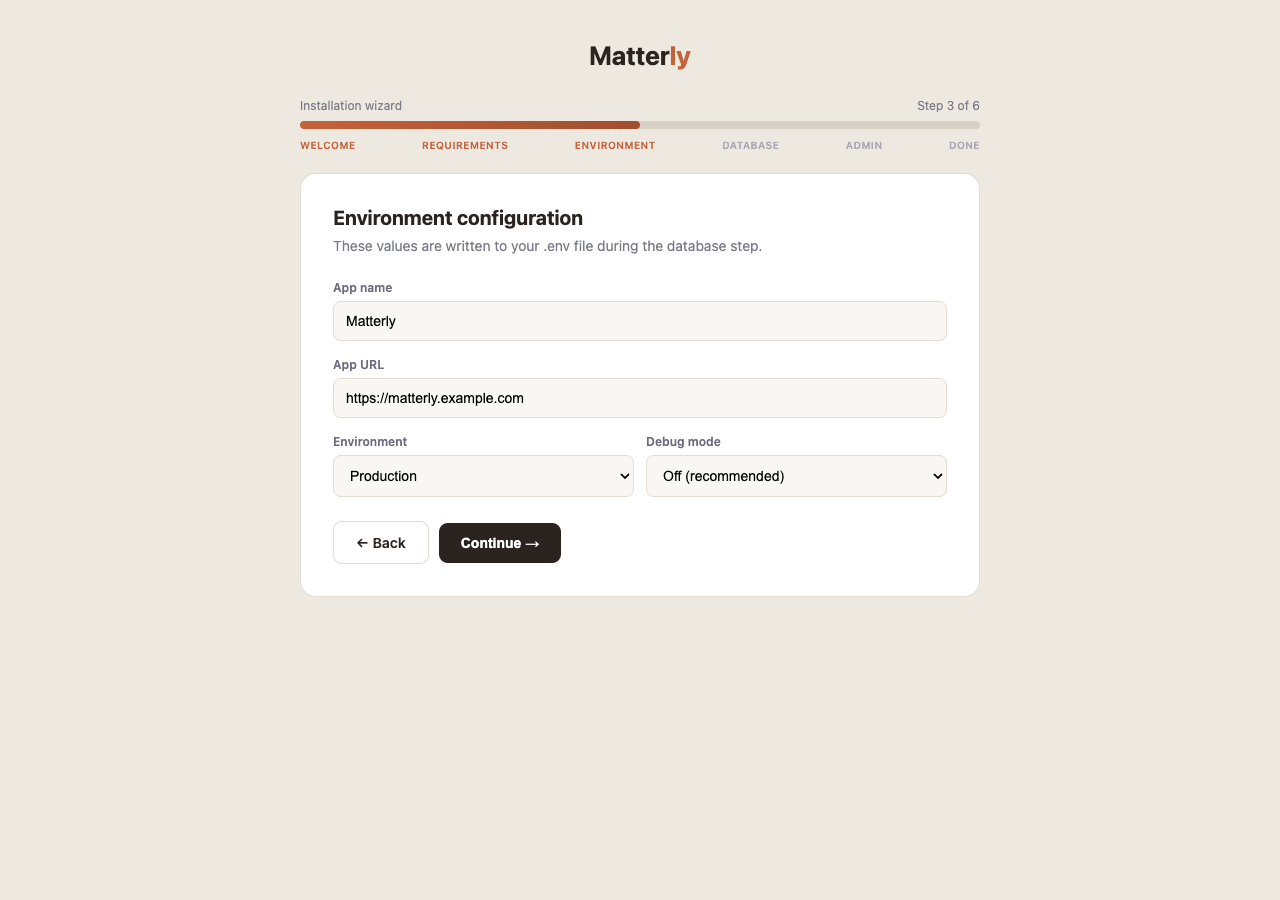
Purpose: Set basic application identity and mode.
Fields to enter:
| Field |
What to enter |
| App Name |
Display name, e.g. LawyerPara |
| App URL |
Full URL with no trailing slash, e.g. https://firms.example.com or http://127.0.0.1:8000 |
| Environment |
production for live; local for development; staging optional |
| Debug |
Leave off (false) on production. Only enable for debugging |
APP_KEY: LawyerPara generates a secure application key automatically during install. You do not paste an APP_KEY manually on this screen.
Click Continue / Save when done.
#Step 4: Database Configuration
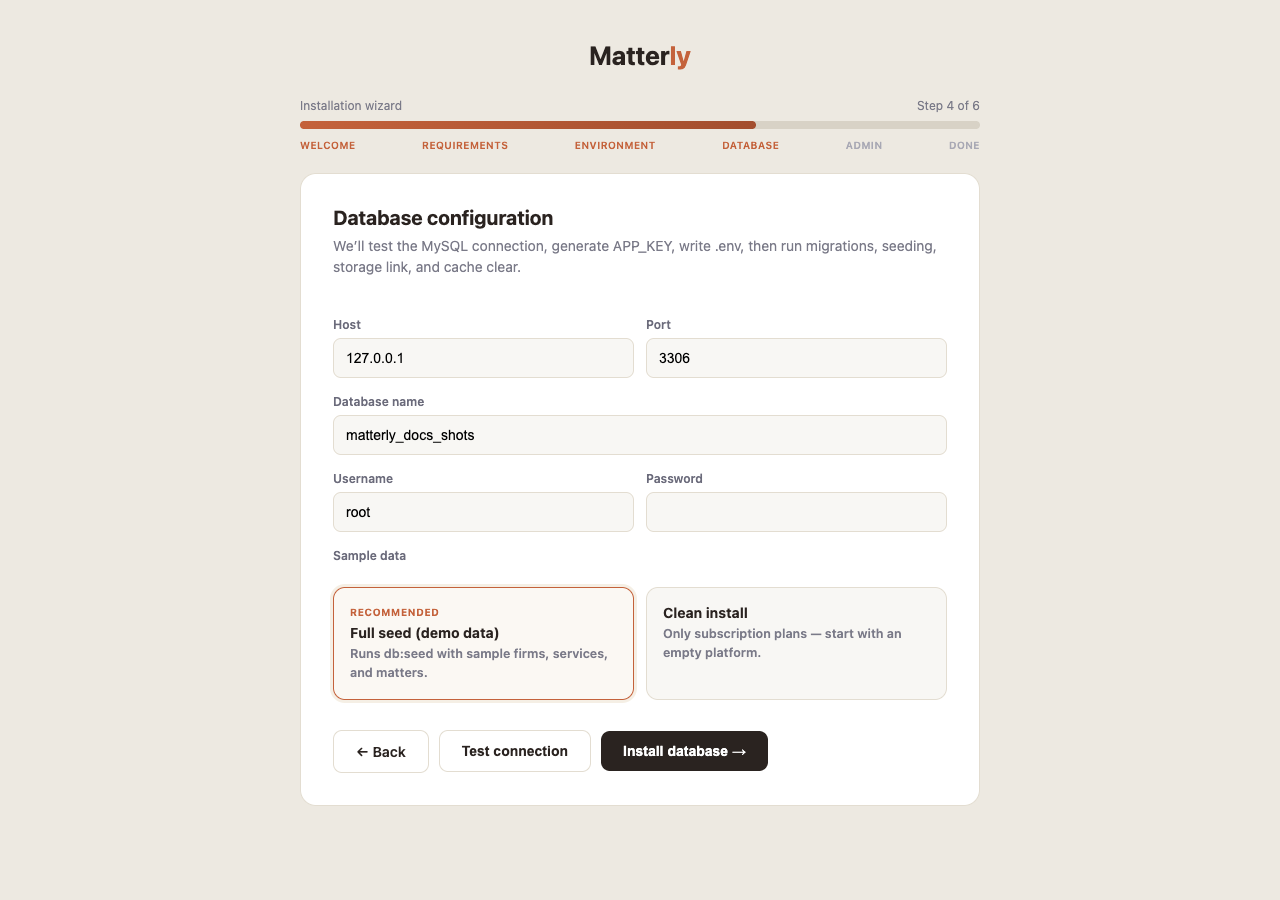
Purpose: Connect LawyerPara to MySQL and create tables.
Fields to enter:
| Field |
What to enter |
| Host |
Usually 127.0.0.1 or localhost |
| Port |
Usually 3306 |
| Database name |
Empty database you created, e.g. matterly |
| Username |
MySQL user with rights on that database |
| Password |
That user’s password |
| Seed demo data |
Yes: installs the sample firm (Sterling & Whitfield LLP) and demo logins. No: clean install with only your Super Admin |
Recommended buttons:
-
Click Test connection first. Fix host/user/password if it fails.
-
Click Install / Continue to:
- Write database settings to
.env
- Generate / confirm
APP_KEY
- Run migrations (create all tables)
- Run seeders (demo data if you chose that option)
- Prepare storage links and caches as needed
Wait until the step finishes. A long pause is normal on first migrate.
#Step 5: Create Super Admin
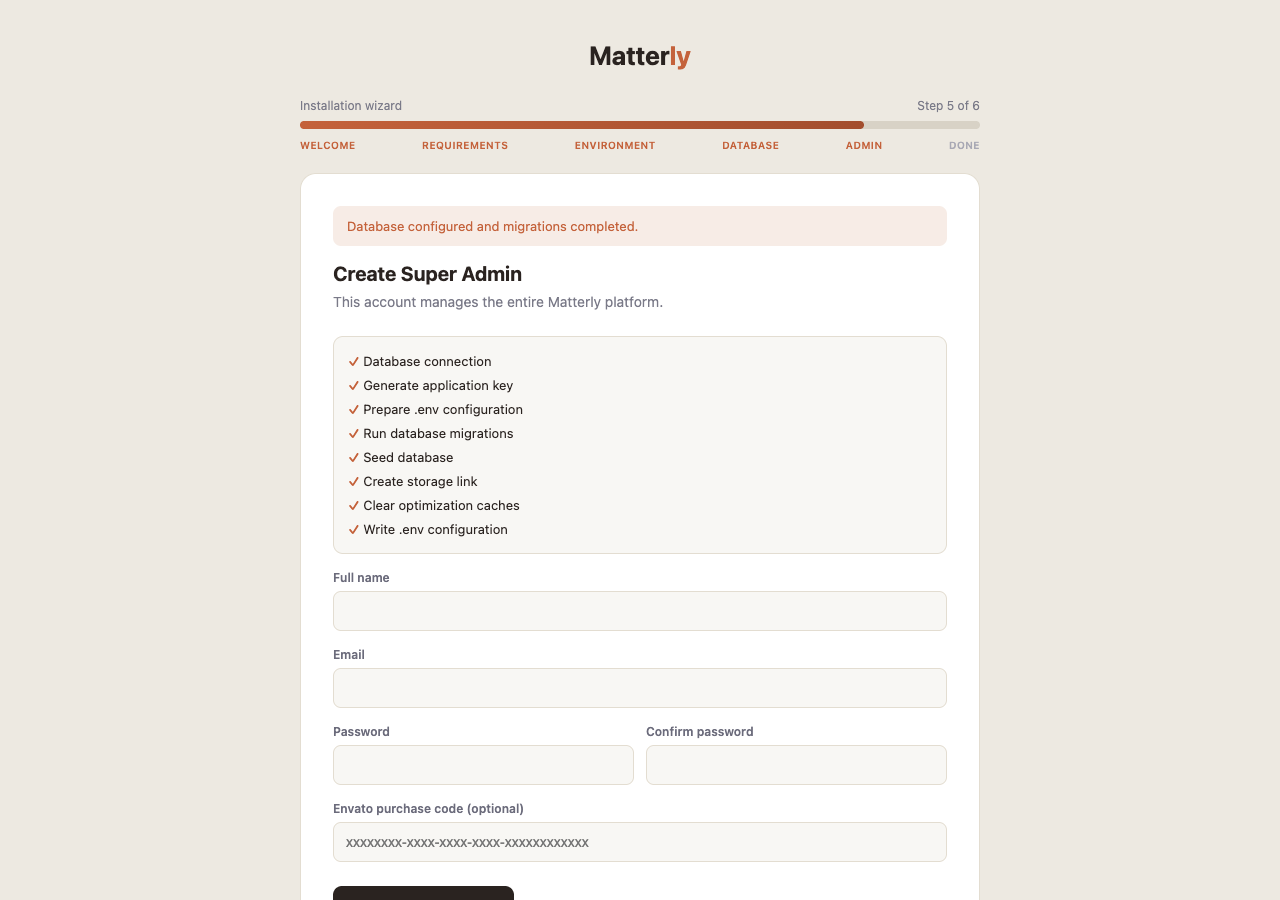
Purpose: Create the first platform administrator account.
Fields to enter:
| Field |
What to enter |
| Name |
Your full name |
| Email |
Login email (must be unique) |
| Password |
Strong password |
| Confirm password |
Same password again |
| License code (optional) |
Envato / purchase code if you use license verification |
Submit the form. LawyerPara creates the Super Admin user and locks the installer (storage/installed).
#Step 6: Installation Complete
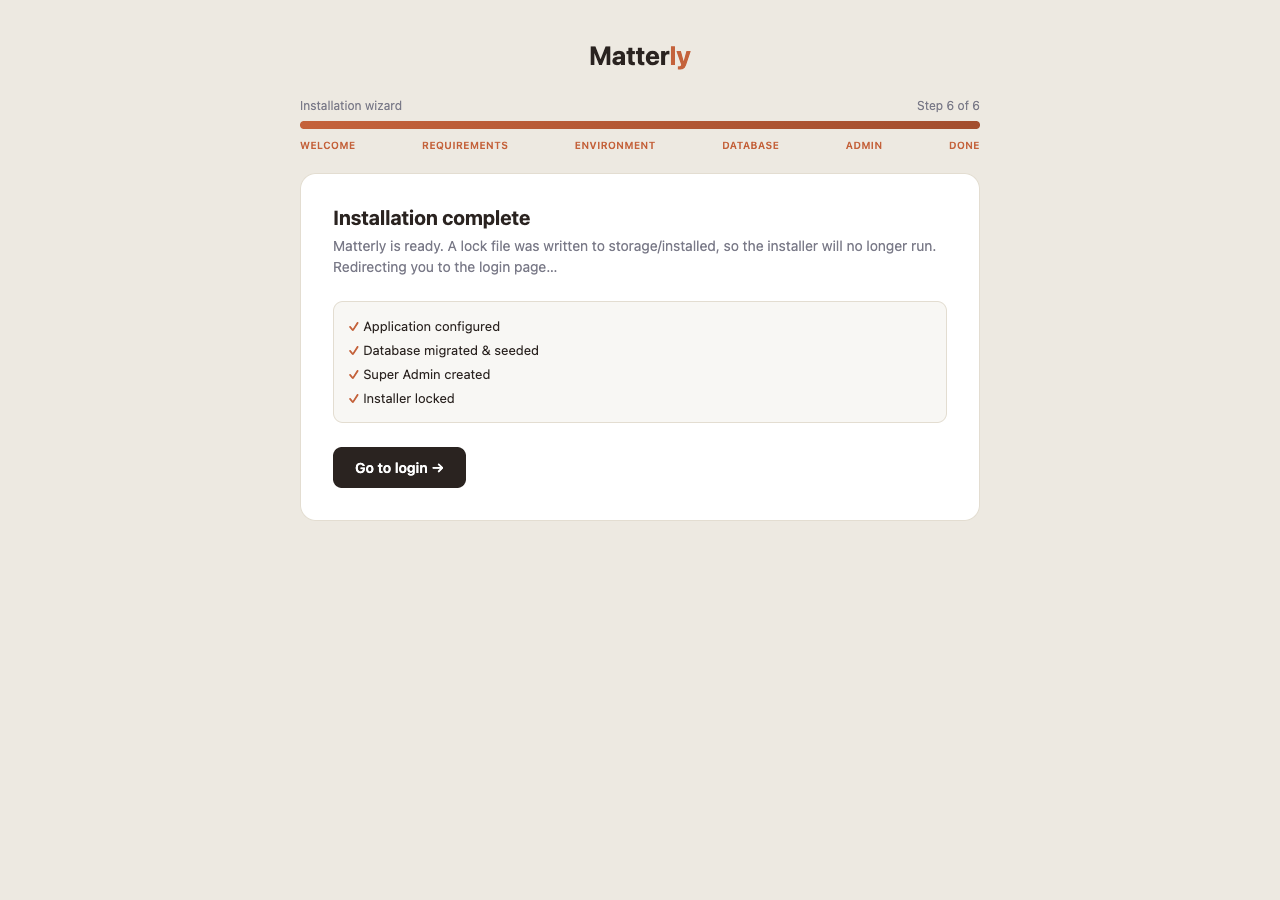
What you see: A success message.
What happens next:
- You are redirected to Login (
/login)
/install is no longer available for setup
Log in with the Super Admin email and password you just created.
#After Installation Checklist
- Open Super Admin → Settings and configure SMTP (so emails work).
- Configure OpenAI if you plan to use AI features.
- Create or review Plans, then add your first Firm.
- Optionally open http://your-domain.com/docs for this user guide.
#Related pages